Last Updated on March 30, 2023
Do you have a hole or tear in your favorite flat or fitted sheet? Or even a tear in a duvet cover?
For the average person who doesn’t have sewing experience, fixing a torn sheet can be quite a process. Most people give up and take the sheet to an alteration shop and pay to have it repaired – which can be costly.
Fixing a torn sheet, duvet cover, etc., doesn’t have to be a hassle.
There is an easier method – one which can be done easily at home in just a few minutes. No sewing, needles, or thread is required.
You don’t even need any experience repairing damaged fabrics – on the contrary – you just need an iron!
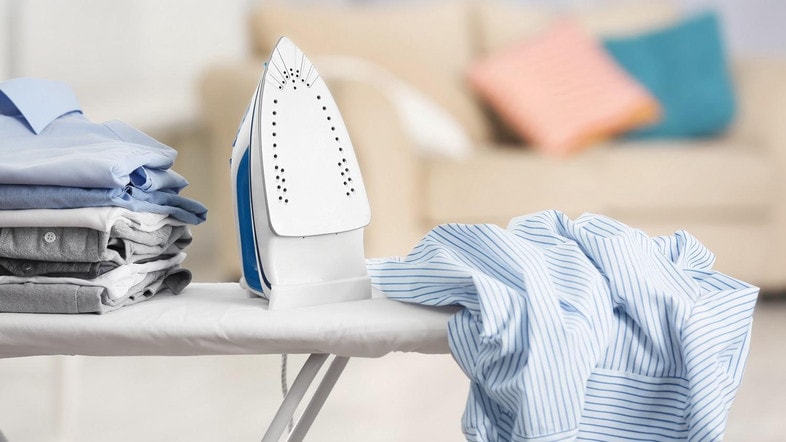
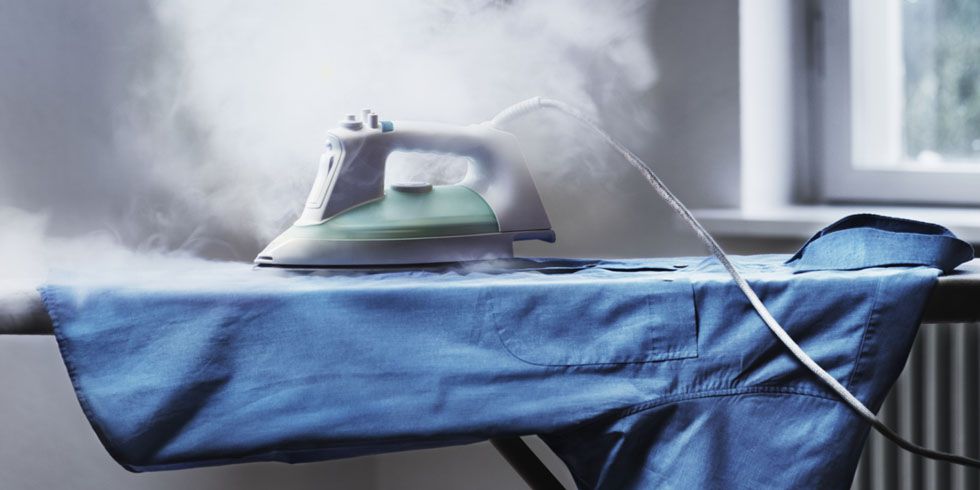
Everyone has a steam iron, at home, of course.
It really is that simple. If you can iron a shirt, you can repair a tear or a hole in a sheet – or any type of bedding for that matter.
You just need iron-on mending tape like this one.
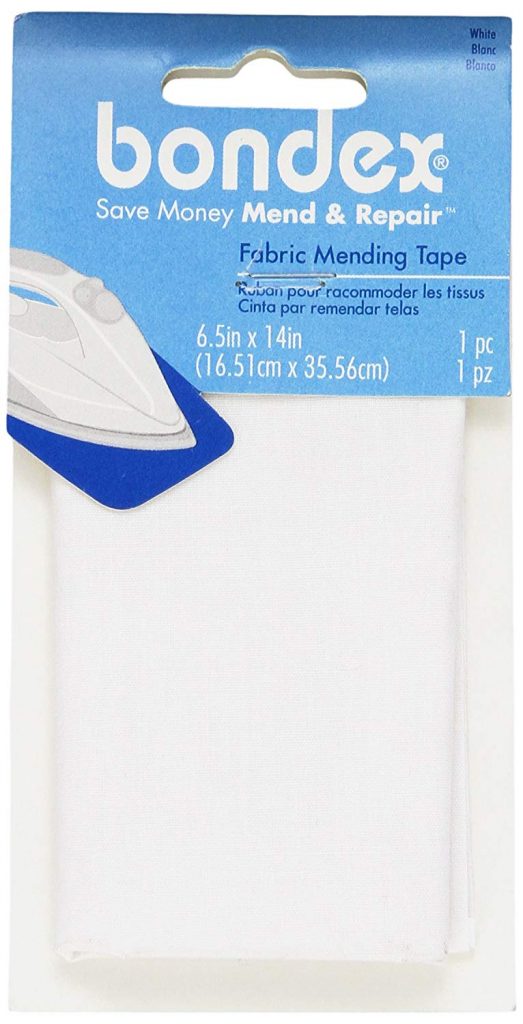
We showed the white color, but these mending tape sets are available in multiple different colors. Each package contains enough mending tape for multiple repairs.
Repairing a hole with mending tape is a really quick and easy process – and super affordable too, especially when you consider the fact that an alteration shop would charge you about $15-25 to repair an average-sized tear or hole.
Do patches actually work?
Yes, they actually do!
The top side (the side that will show when you’re done) is just regular fabric. The bottom side is covered with a heat-activated adhesive. When ironed on much like a patch, it sticks – and won’t come off.
No sewing supplies are needed!
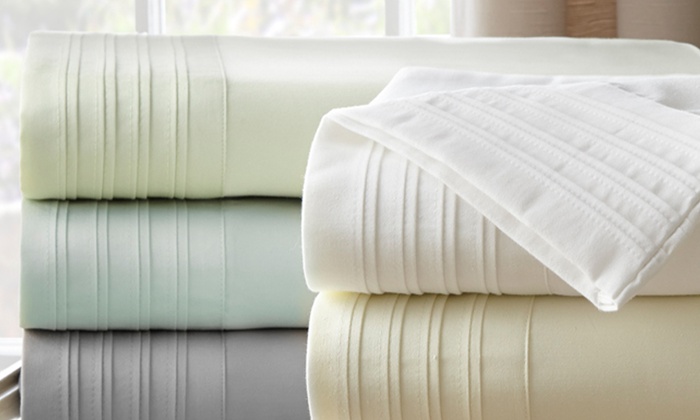
So while you can’t repair every type of bedding – namely pillows, mattress pads, and comforters – mending tape will work for anything that has a flat and even surface.
The key thing here is to follow the instructions!
How to do it
Fixing a torn bed sheet with mending tape is very simple. The repair is relatively permanent, provided that you follow the instructions.
1.) Measure the length of the hole or tear in the fabric.
2.) Wash the sheet, the way you normally would.
3.) While the sheet is in the washer, cut a piece of the mending tape that will fit over the length of the tear. So if the tear measures 2″, cut a 3-3.5″ length of the tape.
4.) Using your scissors, round all four corners – this is a key part of the process, so don’t forget!
5.) Throw the sheet in the dryer, and allow it to fully dry.
6.) Once fully dry, place the sheet on the ironing board, and press it with the iron to pre-heat the damaged area.
7.) Place the patch shiny-side down, directly over the damaged area.
8.) Using the wool setting of your iron, down on the patch for 45 seconds. During this time, using circular motions, cover the entire surface area of the patch.
That was pretty simple, right?
Some additional tips
Here are a few additional tips to get the most out of your patchwork. When done right, this repair can last as long as necessary (until you throw the sheet away).
Don’t skip any steps
Follow the instructions above. Every step has a purpose. For example, if you don’t wash the sheet, there may be dust, debris, hair, etc. in the way to prevent the patch from securely sticking to the surface.

Place the patch on the side where it will meet the most friction
On a fitted sheet, that would mean the side that you sleep on, not the side that faces the mattress. Conversely, if you’re patching up a flat sheet, place the patch on the side that faces you, not the comforter.
For larger tears with noticeable shredding use two patches
Some holes or tears, particularly with older sheets, will involve noticeable shredding. In these instances, follow the same instructions as above, but patch up both sides. Repair one side as noted above, and immediately flip over, and patch the reverse side. The fabric will already be pre-heated, so just skip to the actual patching step.
Don’t overheat the patch
You might have the urge to keep the iron on the patch for longer than 45 seconds to make ultra sure that the patch is firmly in place, but this will just burn the adhesive.
Keep the iron on for 45 seconds, and no longer.
Don’t overlap patches
Tears come in all shapes and sizes, and won’t always be perfectly linear. In these cases, you might need two or more patches to completely repair the damaged area.
When using more than one patch, don’t overlap one piece of mending tape with another. Not only does the mending tape adhere to the fabric more effectively than it does to itself, but you could also burn the adhesive on the first patch by over-ironing.
Stick to cotton fabrics
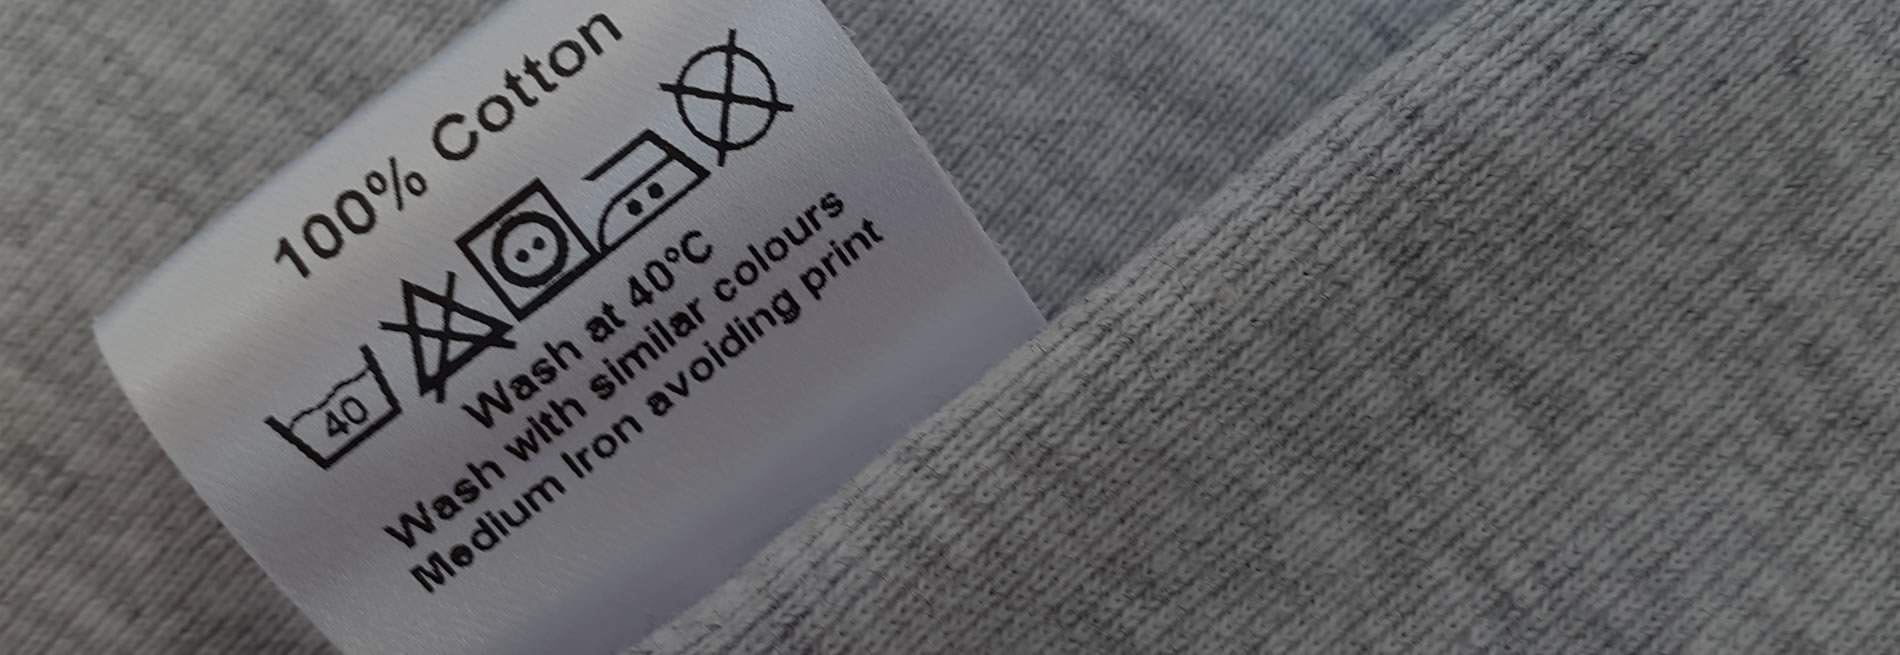
Mending tape is meant to be used on cotton or cotton-blend fabrics. It won’t work as well for 100% polyester fabrics such as microfiber.
Also, remove any pilling in the area that will be directly under the mending tape. This will ensure that the mending tape sits flush with the surface of your sheet.
Don’t use steam
Resist the urge to use your steamer when ironing on the patch. The moisture from the steam will prevent the adhesive from sticking properly.
Dry heat only!
Not for pillows, comforters, or mattress pads
Remember, use these patches for even and flat surfaces only – such as sheets or a duvet cover.
Items with filling, such as pillows, comforters, mattress pads, or featherbeds should not be repaired using an iron-on patch. Not only will you have a hard time properly ironing the mending tape, but you’ll definitely damage the fill inside.

Stick to smooth surfaces
Mending tape adheres best to smooth surfaces. Avoid using mending tape on things like towels, or other fabrics that have a textured surface.
On that note – embroidered or stitched areas of a duvet cover are often areas of weakness, and prone to tearing.
When repairing a tear that involves embroidery, it’s always best to place the mending tape on the reverse side – as it will provide the smoothest surface.
Torn hems
Hems on a flat sheet or pillowcase are also very prone to coming apart. When repairing a torn hem at the edge, fold the tape over to the reverse side, and then iron it on.
Final thoughts
Mending tape repairs are only good as long as you follow the instructions. Take your time, and follow the instructions laid out above, or on the tape package.
The small details are what makes the process work.

I have a small square cut in a comforter. Can this tape go in between the tear and batting to fix so the tape is not visible?
Kris,
Since the tape has to be ironed on, it’s not a good option to repair a tear in a comforter. The heat from an iron will definitely harm goose down, and most likely melt down-alternative fills.
This is a great article! I have a torn bed sheet and was wondering how to fix it without sewing. This article has given me some great ideas.
I have a cotton fitted lower bed sheet. The tear is in the corner next to the seam. Ripped top to bottom, but not all the way up and not all the way down, but almost. I’m thinking of partial stitching just to close the gap while adding this heat tape to both sides. Then stitch the full length on both sides of the tear. Would there be a better way? Probably out to find someone with a machine to sew all the way around it.
Brian,
The patch works even better with a bit of sewing. If you can’t find someone to sew it for you, your idea actually sounds pretty solid.
Vic
Is it soft?